

The wallet app is best suited for freelancers, salary person, business man, a student, or those who want to manage their expenses personally. You can login by single click with Google, so your data will be recorded on the cloud, and it is saved and secured. You can view a graphical representation of your data as well on the dashboard screen. The wallet app comes with a dashboard, My Expenses, My Incomes, Advance Filter, and a Settings screen.
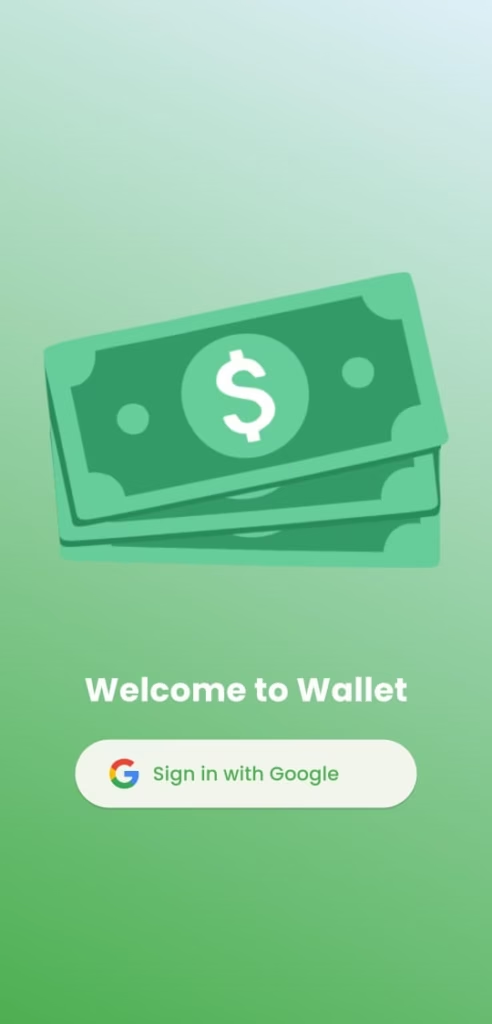
One Click Login
You can easily log in with your Google account for seamless access. Real-time data will be continuously updated, and your information will be securely stored in the cloud. There’s absolutely no need to worry; if you update your account settings, you can simply log out and then log in on another device, and rest assured that your data will be there waiting for you.
Dashboard
Wallet comes up with a graphical representation of your expenses and income. You can view your total balance with the expense and income count. The user can also apply a filter to check expenses monthly, weekly, or yearly. There are separate graphs for expense and income, which show expense and income each day. There is also an action button from which you can quickly navigate to the add expense and add income screens to add your daily income or expense.
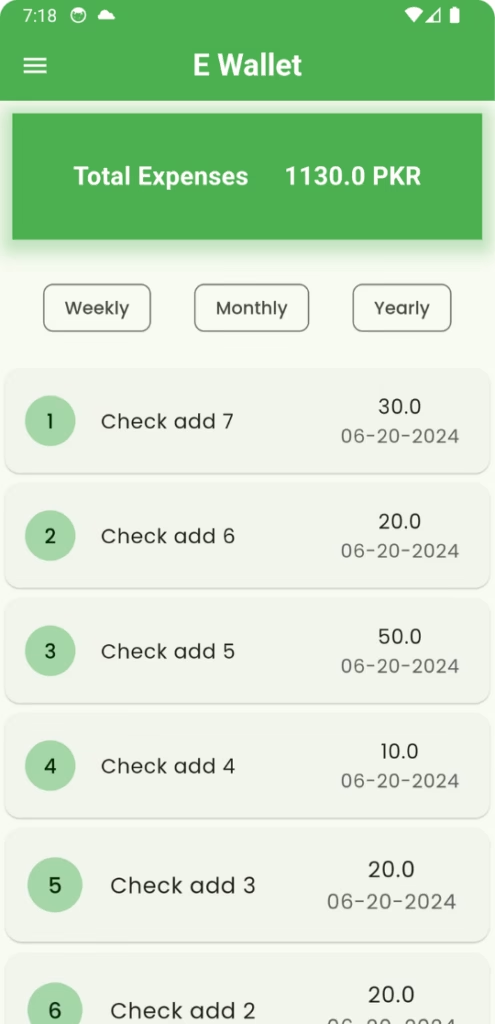
Expenses
On the expenses screen, the user can view their total expense from the 1st of the current month to today’s date. However, the user can apply a custom advanced filter from advance filter screen as well. The user can quickly apply a filter to weekly, monthly, and yearly data from the expenses screen to view their expenses.
To delete an expense from the list, the user needs to slide the expense or income to delete that expense or income.
Incomes
On the income screen, the user can view their total income from the 1st of the current month to today’s date. However, the user can also apply a custom advanced filter from the advanced filter screen. Users can quickly apply weekly, monthly, and yearly filters from the income screen to view their income.
To delete an income entry from the list, the user needs to slide the item to the left.
Advance Filter
On the Advanced Filter screen, the user can pick a date range using the date picker. The user has to select a start date and an end date to submit the form. After selecting the date range, the user has to choose expense or income from the drop-down. When the filter is applied, the expense or income for that date range will be displayed to the user along with the total expense or income count.
Generate Report
After applying the advanced filter, if the user wants to download a report as a PDF, they can do so by clicking the download action button. The whole report will be downloaded, and a share pop-up will appear so it can be easily shared with loved ones. This could be a very useful feature, as it allows users to share expense or income reports with others in PDF format.
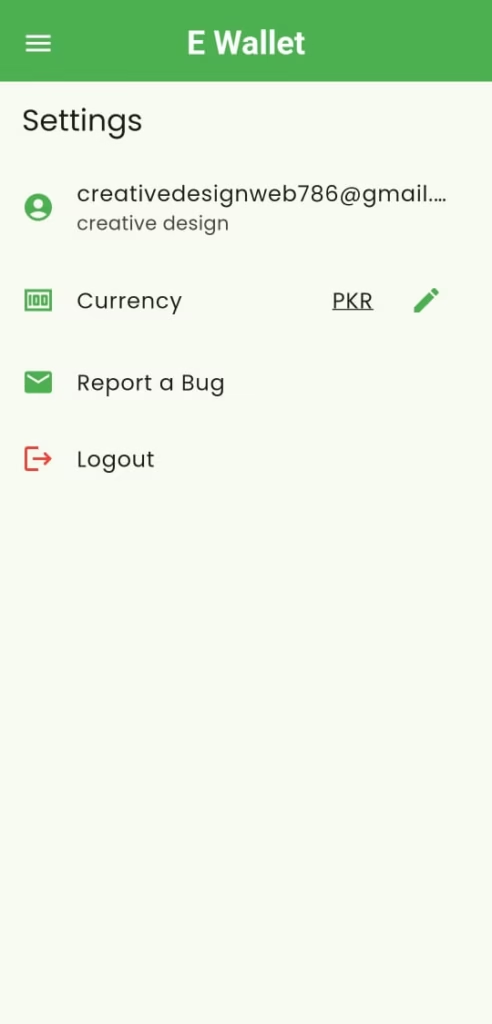
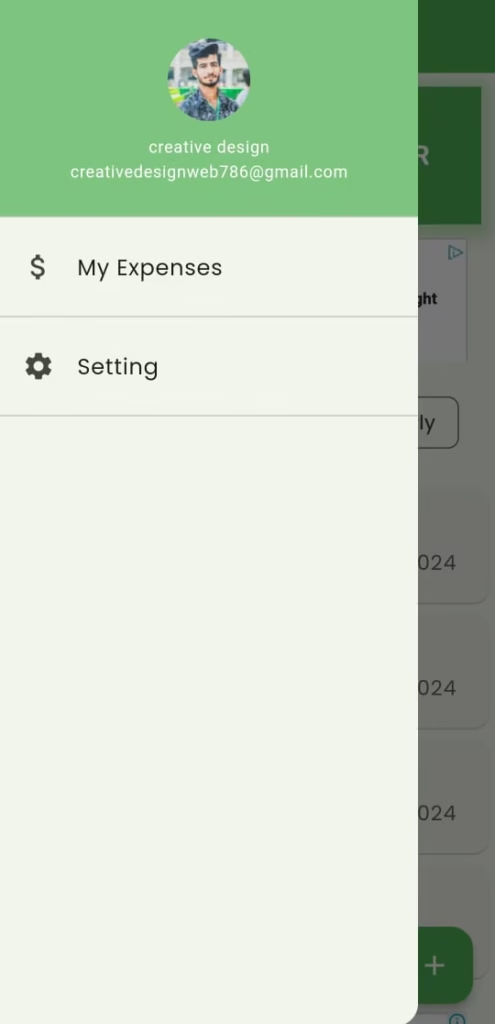
Setting
The Settings screen displays the user’s email. The user can also update the currency and enable dark mode. If you prefer dark mode, you can enable it as well.
Other than that, the user can report a bug, view the privacy policy page, and log out to the main screen.
Recent Posts
Best Website Developer in Okara
In today’s digital world, having a professional website is no longer optional. Whether you own…

Claude 4.5 Sonnet Useful for Developers or not ?
Claude 4.5 “Sonnet” is still new, but after spending some time with it in my…
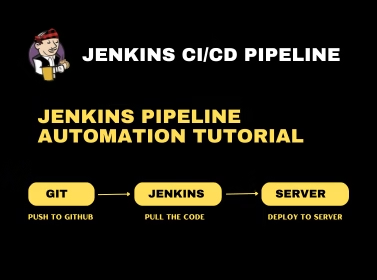
GitHub Integration with Jenkins on AWS EC2 (with Webhooks + Error Fixes)
Step 1: Install Java (Required for Jenkins) sudo apt update sudo apt install -y openjdk-17-jdk…

Five Best Budgeting App in UK
Keeping track of your finances can sometimes feel like a juggling act, especially when unexpected…
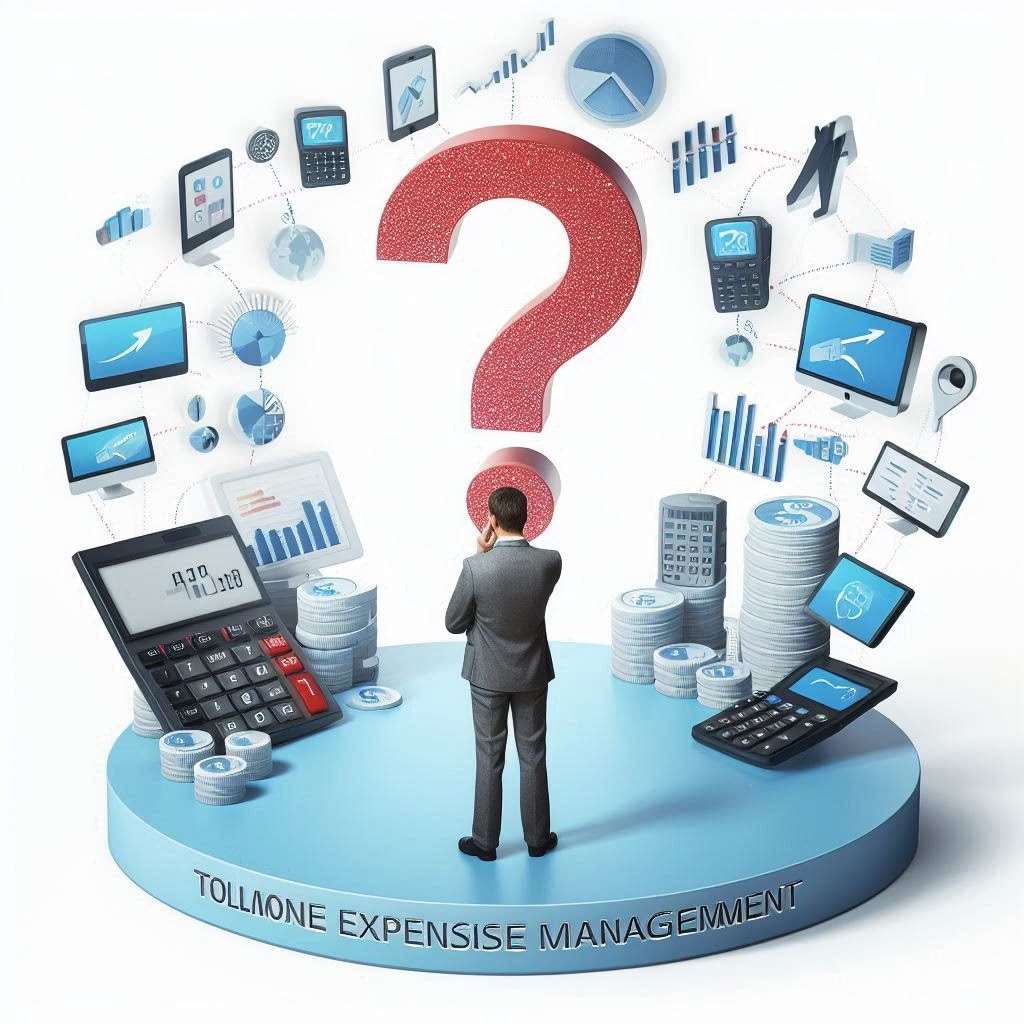
what is telecom expense management ?
Telecom Expense Management refers to the processes and technologies used by organisations to manage, analyse,…
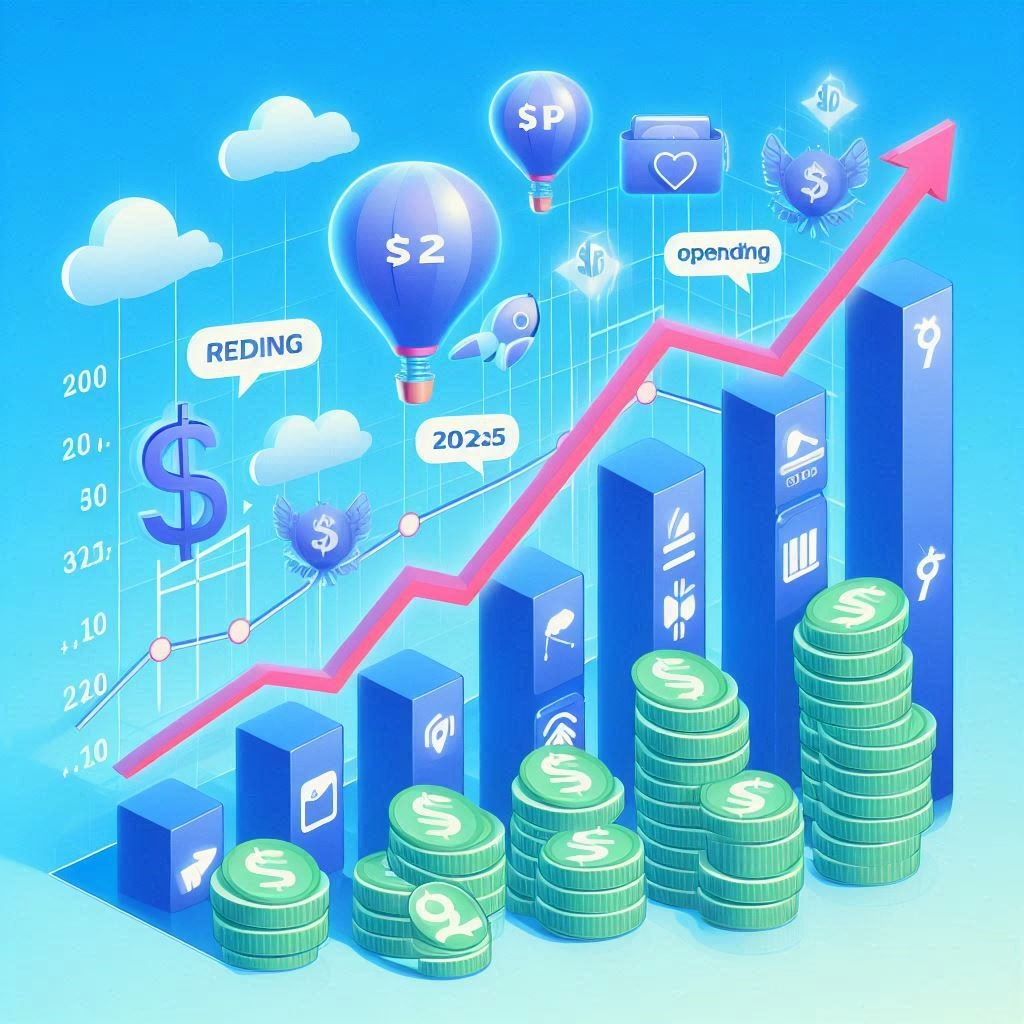
Apps to reduce overspending in 2025
Overspending is a challenge many people face, often leading to financial strain and difficulty achieving…